Creating a Dashboard
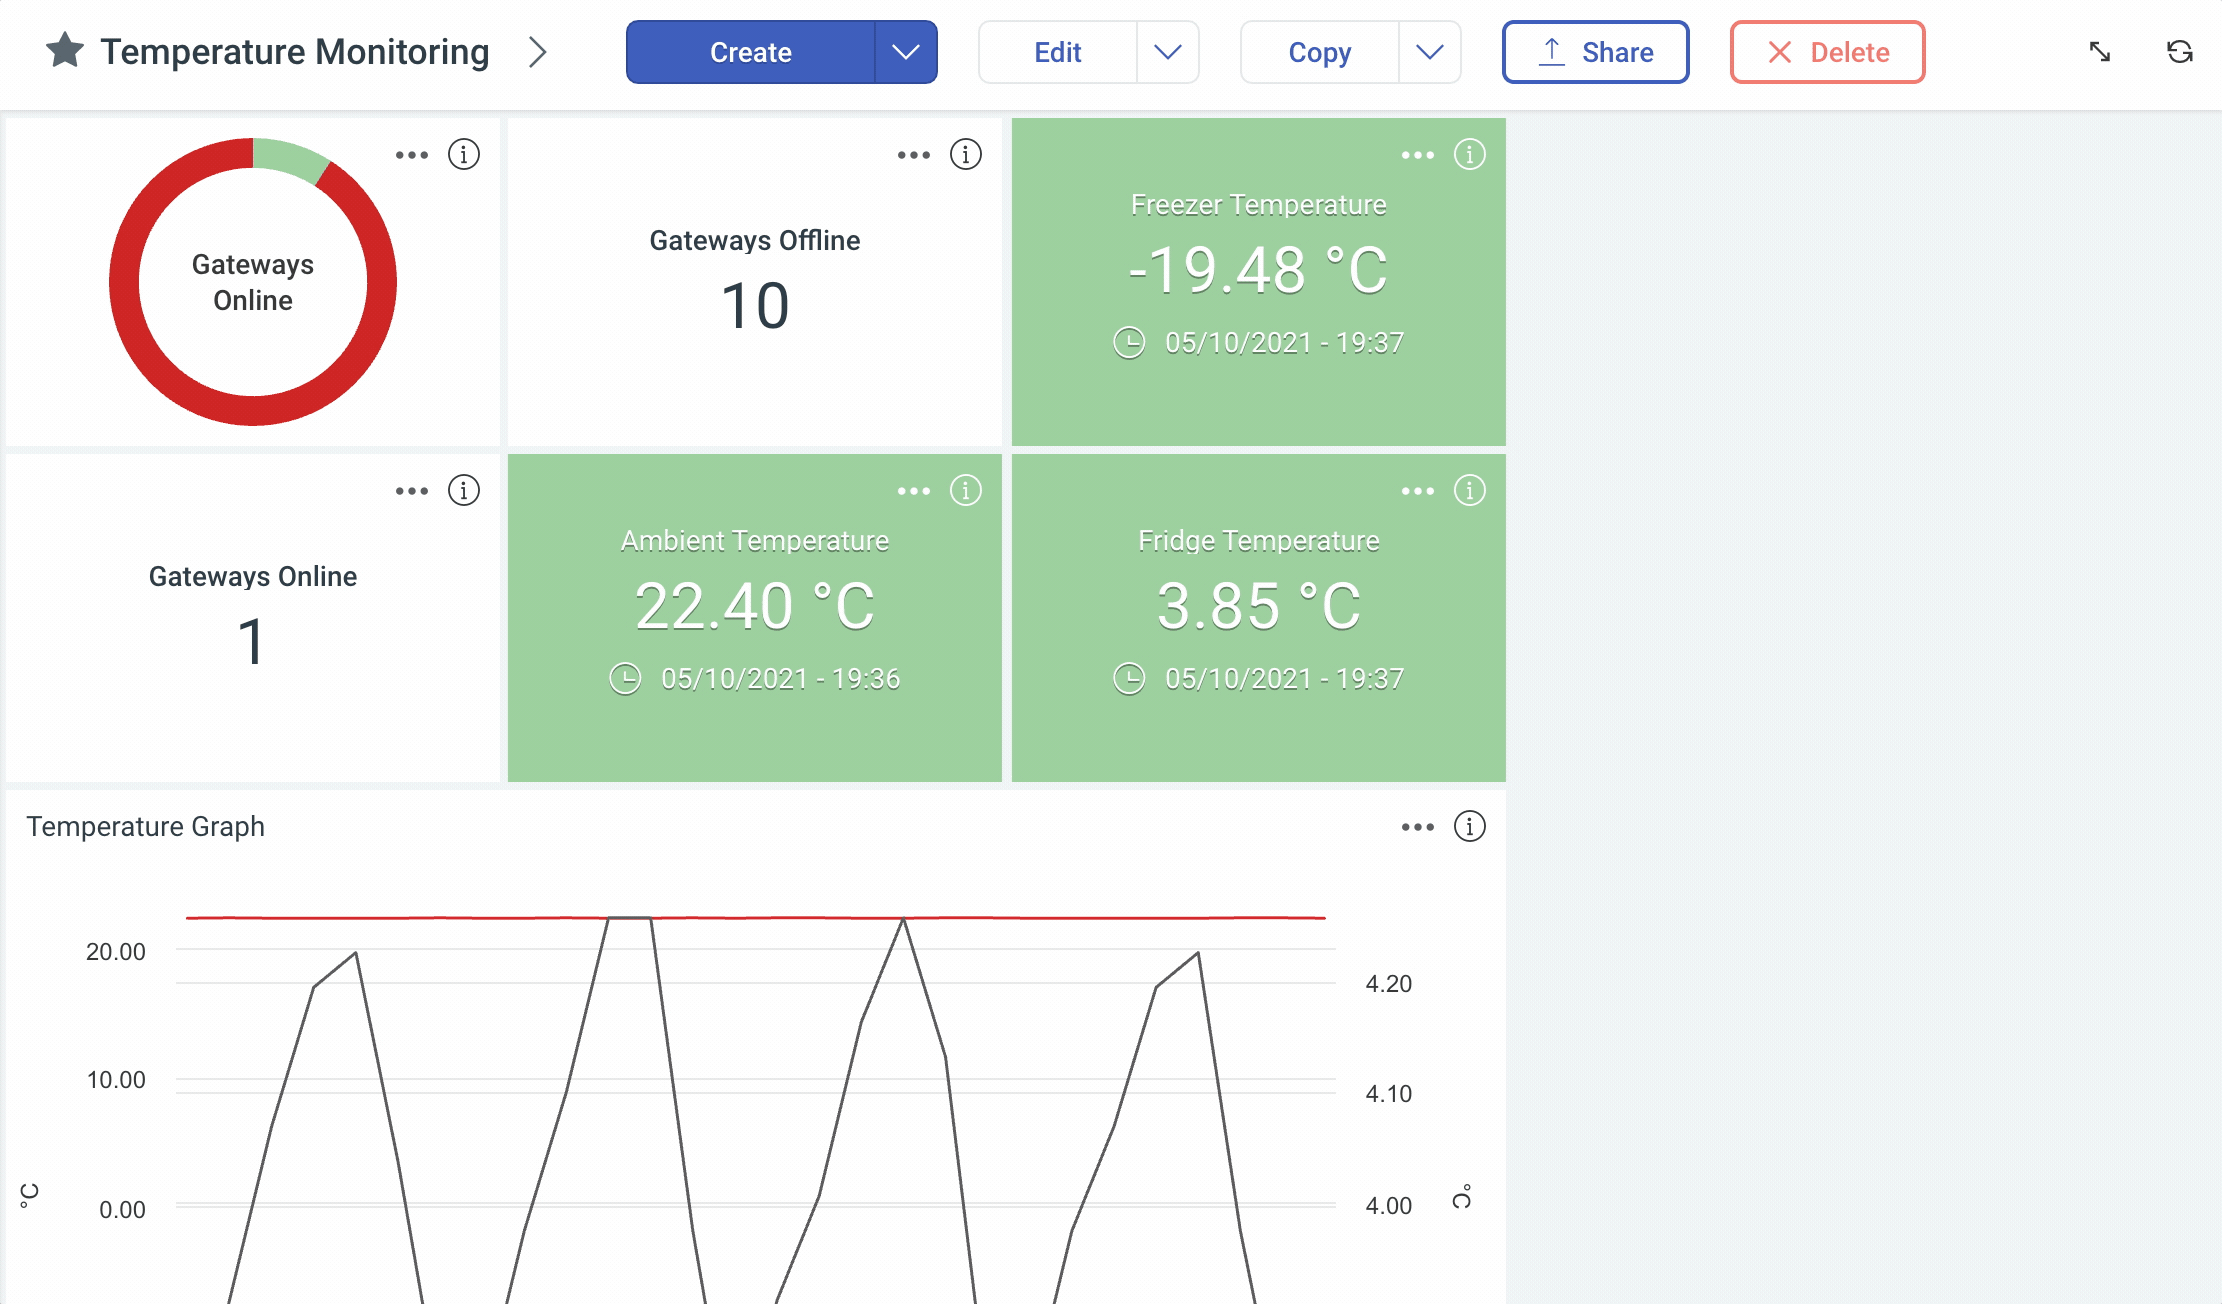
Creating a Dashboard in the Hark Platform is easy, and unlocks a whole world of potential for ensuring you can get to your information, sensor data and analysis sooner.
To create a Dashboard, click on Create in the control bar at the top of your Dashboards. You’ll be required to enter a name, and configure who will be able to see this Dashboard. More more information on creating a Private Dashboard, please read our guide on Creating a Private Dashboard.
When you’ve configured who can see, and edit, your new Dashboard click Create. You’ll be presented with your new blank Dashboard, where you can start adding Widgets and seeing the data you’d like to see.
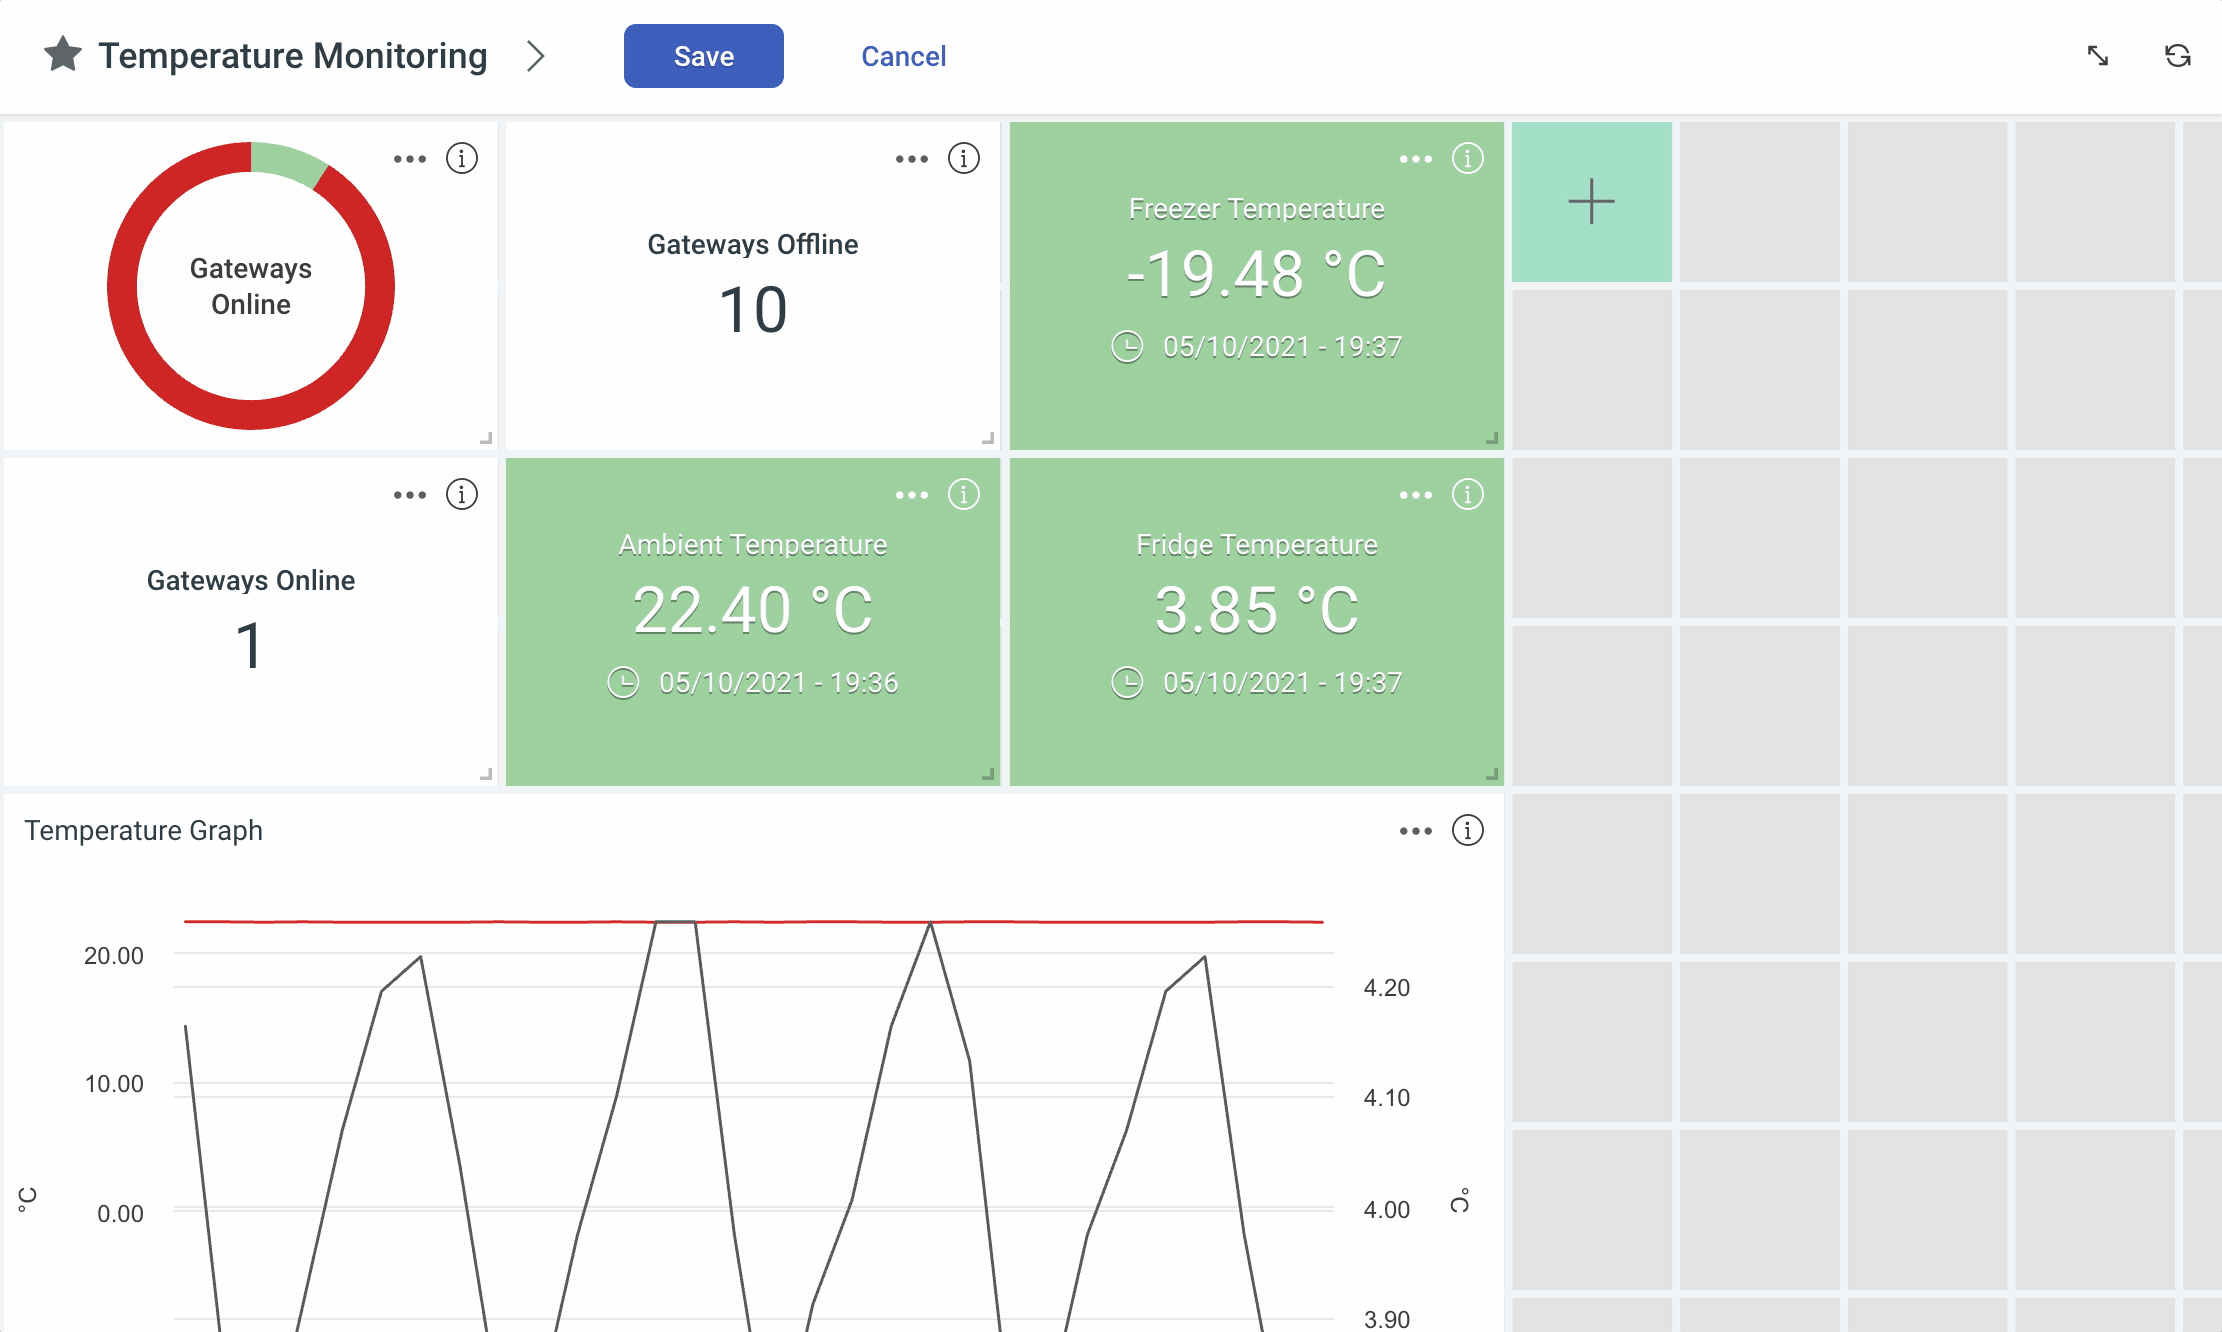
Start adding Widgets by drawing a box with your mouse, selecting and configuring a Widget. You can get more information on Widgets in the following guides:
When you’ve added the Widgets you’d like to see, click Save in the dashboard's control bar, and your new Dashboard will be saved for you.
If you’re wanting to make further changes to your dashboards, the following guides will help you get going.