Configuring a Widget on a Dashboard
When Adding a Widget to a Dashboard, or editing a Widget you’ll find that each Widget has its own configuration necessary for it to show you the information you need. The only common field you’ll see in all Widgets, is the name field - used to label a Widget above its content.
Configuration for Widgets ranges from no configuration, to a few easy fields to fill out, depending on the Widget you are configuring, and don’t worry, if you don't get it right the first time, widget configuration can always be changed!
When configuring a Widget, you may come across some inline fields such as text boxes, toggles, select boxes and multiple-choice fields. Our tooltips will help you fill those out if you’re unsure of what to input.
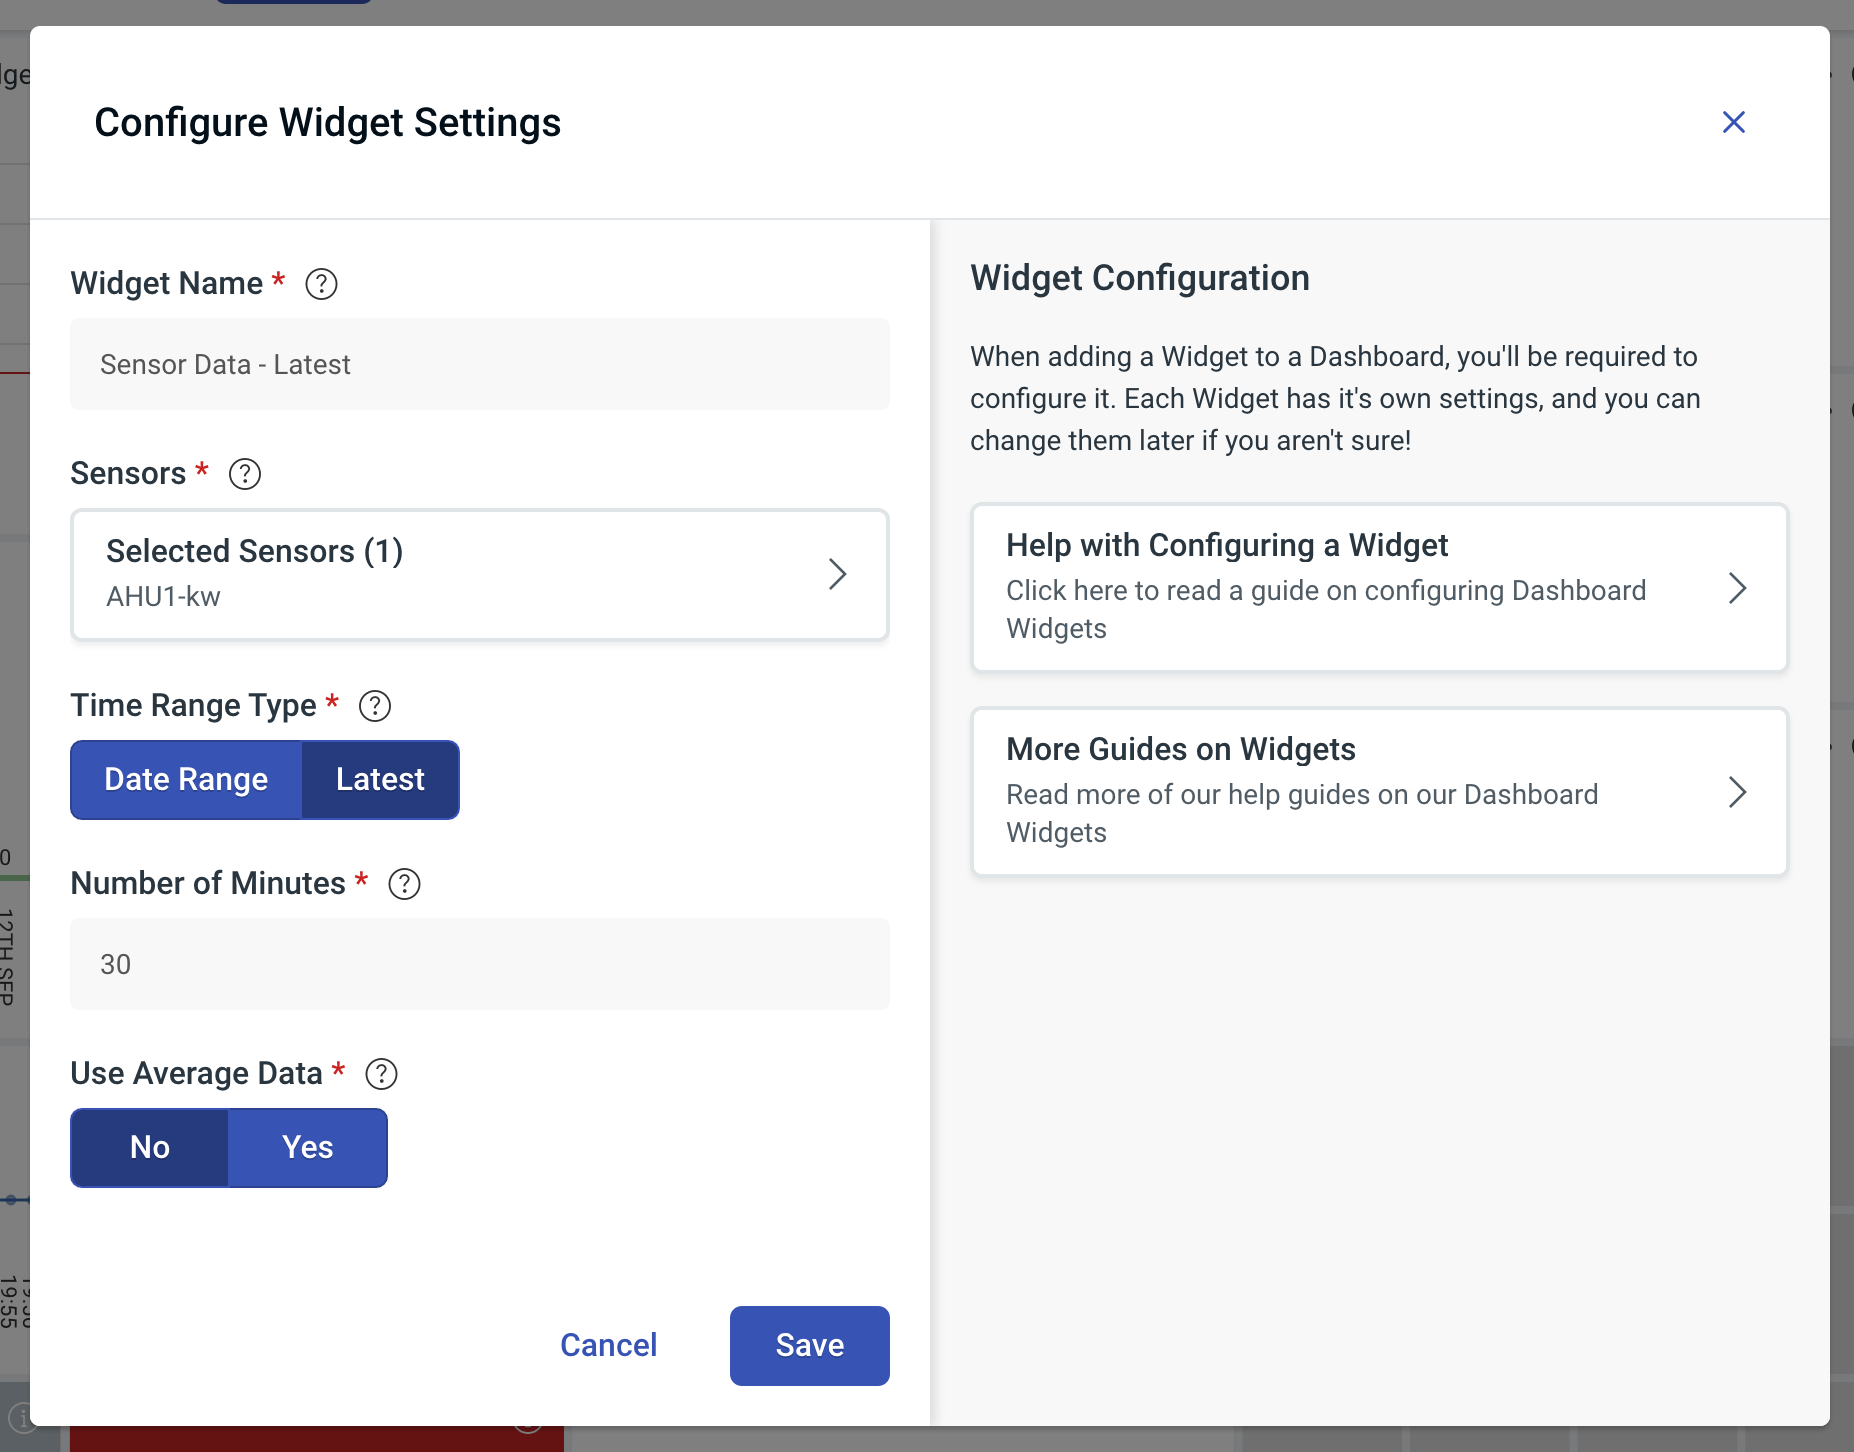
Some fields may be more advanced and show a button that looks something like this.
When clicking on a field like this, you’ll see the content on the right hand side of the page changes. This is where you’ll perform a more advanced action such as search through a list of your Sensors from Analytics, Datasets from Energy Tools or other options.
When you’ve completed the configuration for your Widget, click Save and your new Widget will be added. Of course, you can edit a Widget at any time by clicking on the three dots on a Widget whilst in edit mode and clicking Edit to reconfigure your Widget.