My office door has a little window in it, and my other half likes to come and bug me sometimes during work hours (lolol). Unfortunately, she’s unable to see if I am on camera (on a call), without entering the room or looking through the window and then being on camera herself – which is not ideal. The camera points directly out to the door and you can see through the window in the door. So, over the Christmas break I put together a little project to solve this and I’m sharing it with you.
I used a 3D printed case that contains a Pi Zero 2 + HyperPixel 4 Square display, with a small server running on my home server to serve the API and UI for my new on-air sign! I’ve also programmed more things than just on-air, which I can control from a folder on my new Stream Deck (or my phone etc) and I’ve also built a little tool to see the current status in my menu bar.
How to build your own on air display
The steps below will show how I created this, there may be other ways to create a similar device but this hardware worked for me.
Parts and Hardware
- API & Status Page
- Hardware
- Pi Zero 2 W – You could also use a full-size Pi (like Pi 4) but would need to find a case to fit it. Pi Zero is slimline, but less powerful.
- Headers need applying, unless you can find a WH model (not W). I used GPIO Hammer Header (Solderless) – Pimoroni to prevent having to solder for speed/prototyping.
- HyperPixel 4.0 Square Display
- 3D Printed Case
- Power supply, SD Card – usual Raspberry Pi Suspects
- Stream Deck – optional!
- Pi Zero 2 W – You could also use a full-size Pi (like Pi 4) but would need to find a case to fit it. Pi Zero is slimline, but less powerful.
Pi Zero 2
Raspberry Pi Zero 2 W is great for a wide range of smart home applications and other IoT projects. For example, from security cameras to Bluetooth speakers, Zero 2 W has a very small form factor and decent power, although ins’t as powerful as the Pi 4. The unit starts from around £13 (less than $20).
https://www.raspberrypi.com/products/raspberry-pi-zero-2-w/

GPIO Hammer Header
If like me you don’t want to solder for speed, or you don’t own a soldering iron , then these cool hammer headers offer a work around. They come in male and female, and use small retaining nubbins to grip tightly into the holes on the PCB.
https://shop.pimoroni.com/products/gpio-hammer-header?variant=35643318026

HyperPixel Square 4.0 Display
https://shop.pimoroni.com/products/hyperpixel-4-square?variant=30138251444307
I’ve found that the Hyper Pixel is great for customer interfaces – I chose the square option, which was personal preference rather than any technical reason. Everything is pre-soldered and ready to go, just pop it onto your Pi, run the installer, and away you go!
3D Printed Case
We’re pretty blessed at Hark to have people who have tools at home that can help with projects like this (as a tech company, it’s a given that we have a plethora of tech enthusiasts we work alongside, all of whom have their own at home tech and kits). One such person is Jamie Vaughan our Senior Software Engineer and our resident 3d printing expert.
Jamie helped me out by printing a case to hold the hardware that goes into creating my ‘on-air’ display.
Unfortunately, I didn’t get any pictures of it printing so nothing to share here. Jamie and I had a look around the internet for existing enclosures for the display and Raspberry Pi Zero and decided on this one from Thingiverse was the one we’d use:
https://www.thingiverse.com/thing:4776752
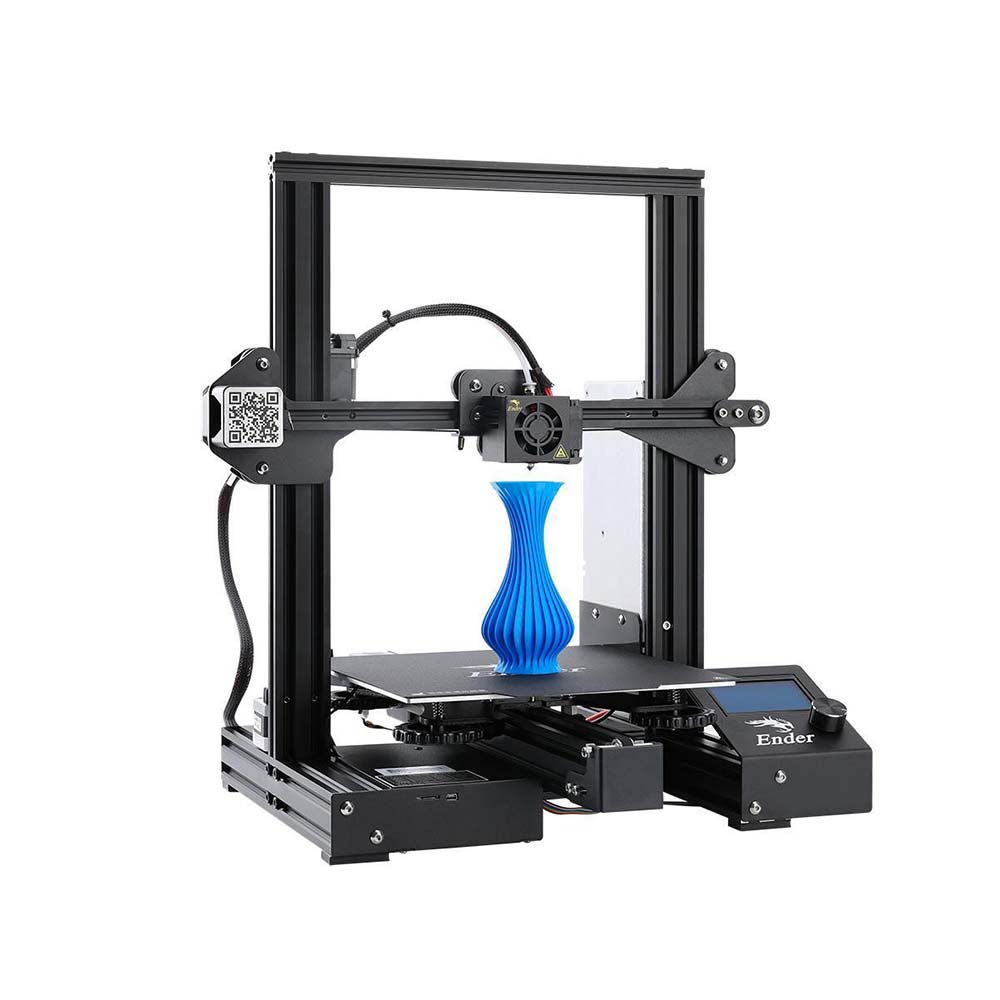
Jamie uses an Ender 3 Pro as his 3d printer and you can find out more about the Ender series of 3d printers here:
https://www.creality.com/products/ender-3-3d-printer
Power Supply and SD Card
I used the usual Raspberry Pi power supply and the Raspberry Pi Suspect SD Card. The Power supplies are about £7.50 from The Pi Hut and SD cards can be less than £10 depending on storage size:
https://thepihut.com/products/raspberry-pi-zero-uk-power-supply
https://shop.pimoroni.com/products/noobs-32gb-microsd-card-3-1?variant=31703694245971

Stream Deck (Optional)
The Stream Deck is optional for this but i LOVE mine and had it before this mini project anyway so made sense for me to use.
https://www.elgato.com/en/stream-deck
If you’re new to the Stream Deck – 15 LCD keys poised to launch unlimited actions eliminate the need to map and memorize keyboard shortcuts. One-touch, tactile operation lets you switch scenes, launch media, adjust audio and more, while visual feedback confirms your every command.

Customizing Stream Deck is pretty easy. Simply drag and drop actions onto keys, and make them your own with custom icons. If you need more than 15 controls/actions then turn keys into folders to give yourself access to as many actions as you want.

API Server and Webpage
- Built an API and “website”/webpage a simple view
- API has a REST API to update the status, get the status and also hosts a web socket server so that the webpage can connect to the server
- When the status changes, the socket server emits a message which the UI receives and updates
- I hosted this on a home server (Mac mini) that I run on my network. You could run it on your computer or in the cloud.
- Designed the UI and wrote the code for the server to set this all up.
I did originally do a fancier UI that had a cool video background and a filter on top. Pi Zero is very limited in capabilities so I judged it worth keeping to a simple UI to get quick updates and responses from the display.
Putting the hardware together
- Attached the headers to the Pi Zero 2
- Attach the screen to the headers / Pi Zero 2
- Print a 3D case
- Combine!

The process to 3D print the on-air case was:
- Download the STL files (3D Model)
- Import the files into Cura (which is a 3D printing slicing software). It essentially takes a 3D model and converts it into “slices” which are layer-by-layer paths the 3d printer has to take while extruding filament to build up the case.
- Tune the settings of Cura to get the best possible results for the model’s dimensions
- Export and upload the slices model (gcode) to my 3D printer
- Start the print using the gcode
Pi Software & Setup
- Flash Raspbian on to an SD Card
- Ensure SSH is enabled, Wi-Fi configuration is set
- Boot it, (ensure you change the default user and password and optionally give it a static IP address)
- Install the HyperPixel configuration to ensure
- Setup the Pi Zero to run Chromium in Kiosk mode so that the display is running the webpage from the server full-screen
- Lots of configuration here with reasoning
It’s worth shouting out this post from Pimoroni as a guide for fixing the Pi to the HyperPixel display.